Wednesday, July 24, 2013

** Sneaks have started! August KOM "Play In the Sunshine" FLying Unicorn**


Time for sneaks to begin for August KOM Play In The Sunshine!!! Be sure to check out the forums for more yummy sneaks from the CT!! Here are a couple from me!!


Stay tuned for more Yummy sneaks!!!!

Tuesday, July 23, 2013

** The Glaze Effect WCYDW Flying Unicorn**

With Tammy

Hello everyone! Have a video for ya today using some yummy Shimmerz, Lindy's and PearlEX. Just playing around with products and discovered a cool use for them. Time to sit back grab a cup of coffee and enjoy! :)


Here is some pics of the tag that I made using this technique.
Tag WCYDW

Close up of tag
Here is what I used to make the tag.
Pearl EX (from previous KOM)
Prima packaging
Seambinding
Had lots of fun with this project and hope you do too!


Monday, July 15, 2013

*** My Mid Month Mixed Media Project "CT work Flying Unicorn" ***

 Hey guys! Here today to share my Mid Month Mixed media project with you. When I saw all the goodies in the kit my mouth started watering!!! Lots of things I wanted to try out! Boy oh boy was I excited!!! 

 For my Project that I did, I was thinking humm.. French, Shabby and Steampunk.. The lady was my image that got all my creative juices flowing and the word "Paris".. I used some "Creative Medium" to transfer all my pieces over to the canvas.. Here is my Project..


 Here are some close ups. The lighting is just a little wonky for some reason.. I had so much fun creating this project! I gave it to my sweet Aunt. She is super sweet and thought this would be a great "Thank You" gift for her.  


 I wanted my total piece to be very light. So I used really light colors on it. Then colored my images with the colors from my base. This was kinda done in layers. First I transferred the images. Then stamped randomly around the piece. I gessoed over that layer and misted next in Lindy's "Tiffanys blue". Came back over areas with the "coconut" white Gelato that came in the kit. I wanted to keep the tone light. Used some of the cool butterfly rubbons, that was in the kit. Repeated the gelato process. After that was dry, I got to try out the cool Shimmerz textures in the kit! Used my favorite Prima mask and lightly masked off some areas. I used some more Lindy's mists in purple hues to go along with my little purple flowers. There was so many cool pieces to use. Flying Unicorn metal adornment mix. I just started laying out my pieces so that it flowed . DA cogs was used from my stash, I colored them with gesso then used some Lindy's moonshadow mist on them. Used some string pearls from my stash and some lace. The Prima flowers are from my DEEPLY hoarded stash! LOL But it was OH so worth it!! I had loads of fun with this!! Here are some more close ups.


Thank you for stopping by today! Hope you get your hands on one of these cool kits!! Be sure to stop by the Flying Unicorn store and get yours!

Sunday, July 14, 2013

***Mid Month Mixed Media Flying Unicorn July***


We are so excited to showcase our July Mid-Month Muse Kit. This kit allows you to experiment with Watercolor paints, photo transfers, gelatos and so many more goodies that your creativity can explore. We are also thrilled to include and introduce to you all our Flying Unicorn crystal butterflies, that are available for now only in this kit with some new adornments under our brand as well .
So without further adieu take a look at the amazing creations created by our creative team and Brenda ( Bitsy) Howell, our Guest Designer.


From our Guest Designer :


CLICK HERE TO GET YOUR MID-MONTH MUSE KIT TODAY ..


Saturday, July 6, 2013

BAP "July KOM Sunset Dreams Flying Unicorn"

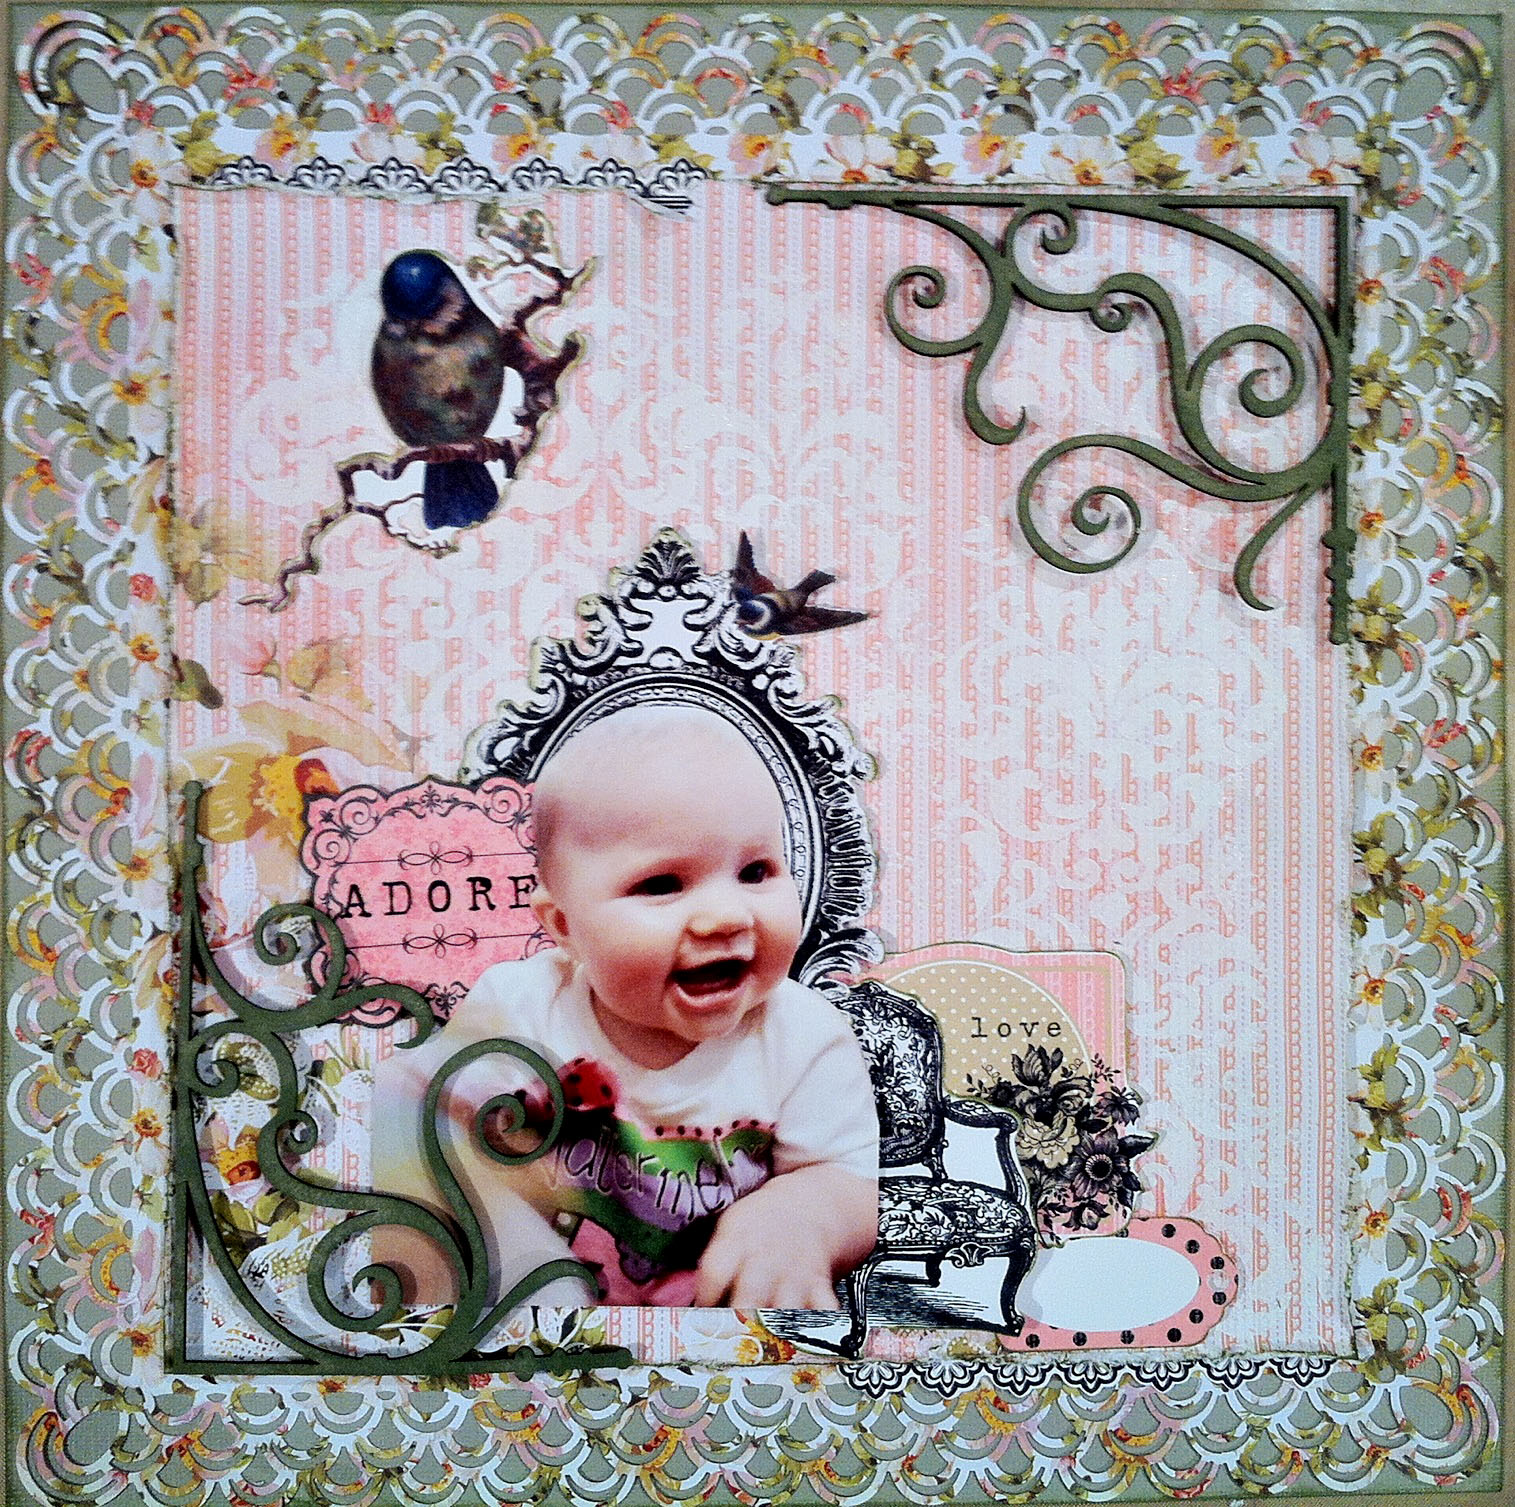
 Hi all! Here today to share my BAP LO with you, using our July KOM Sunset Dreams! I chose to use the Kaisercraft "Porcelain Rose" collection, and a bunch of the goodies from it as well. This is a fun and easy one to do hope you enjoy and play along with your own! So lets get started shall we!

1. Ink the edges of the base CS.


2.  Next Layer I punched the edges all the way around.. I only wanted just a hint of this to show. That was the reason I punched the edges.. Great for adding a little splash of color! 


3. This Layer I trimmed down to a 9 1/2 by 9 1/2 square.. I trimmed the non patterned edges on top and right side.


4. On this piece I did a little more to it. I wanted it to be the top layer. The stripes are a little distracting so I toned it down some with some masking.. Just lightly masked areas with the Prima "Damask" mask. I love this one it is my fave!  


5. Still not done with this piece.. After I masked it I misted it as well with some Lindy's "Cotton candy" and distressed the edges as well. After the edges was distressed I added on the edges lightly some ink Prima Branch bark. 

6. Time to prep our embellies! This awesome chippy came in the Embellishment addons. It is from Petaloo Color me crazy collection. I used the Dew drop Olive ink (actually came in another kit, don't remember which one) to color it with. Just padded it down with it.

7.  Fussy cut out this piece from one of the papers in the main kit.. Also fussy cut out my pic, that I am gonna use.

8. Inked the edges of all the little embellies that I had either fussy cut or from the die cuts that came in the embellishment addon.

9. I chose this cute little die cut to use to hold my title on. The "Adore" is a rubbon that was in the main kit.

10. Time to start arranging and laying our goodies down! Used a couple of the die cut strips to tuck under the top left and bottom right. Used the chippies in the opposite corners. My focal point being the lower left, that is where my pics and little die cuts go. I placed my chippy on top of the photo a little and tucked my title piece under a little. The fussy cut frame under my fussy cut pic. I just had to add in one of those cute little bird die cuts as well in the upper left. 


11. Weeeee my fave part of any LO that I am working on... THE FLOWERS!!! LOL.. I used the Petaloo (Pink and white) and Maya Road (large white) from the flower addon. From my stash I used some Dusty Attic Leaves and white flowers. I wanted them flowing from top left to bottom right sides of my LO.


11. Ok so that just wasn't enough flowers.. Had to add more!! LOL Top right looked so lonely and my Offray little pink and white flowers, and little pink bow just wanted to come out and play too!! LOL I almost forgot those darling sparkly vines from Magnolia, that came in the kit. Had to tuck those in too! 


I ended up adding the little Cherub just thought it added that last little touch! Here is the completed LO


Here are some close ups as well..


Hope you enjoyed! Have a great day!!

Tuesday, July 2, 2013

**Challenge LO using Flying Unicorns KOM Sunset dreams***

 Hope you will play along with me this month at Flying Unicorn! I have a challenge going on all about crackle! So get out those mediums and stamps or whatever you have and play along! Always a fun time and great prizes to win!

This LO I used our KOM Sunset dreams and Golden crackle medium to achieve the crackle effect on the blue flourishes!

 Me and DD had a vacation together, we got to go on a cruise! I was very nervous about the trip, but it was a blast! Got some really cool pics of her. Memories we will share forever! The shells that are on this LO are the ones from the actual trip. Savoring every moment of this trip!!


What I used:


Hope to see you there!! >> Challenge !!

Have a great Day!


Monday, July 1, 2013

"KOM July "Sunset Dreams" LO's and upcoming BAP at **Flying Unicorn**

Back with some more fun LO's using the amazing  July KOM "Sunset dreams"!

 Ok so I was totally loving the reds in this PP and I stumbled across this Picture of my DD.. This Pic screamed to be used in this kit, but almost wasn't go figure?! I just love how the pic pops on this LO! The reds the blues.. Patriotic huh?! LOL Here is the LO and the close ups..


What I used:
Main Kit: PP Kaisercraft, Kaisercraft roses, Firecracker mist, rubon, Basic Grey chipboard letters.
PP addon: Kaisercraft Musk
Flower addon: Bo Bunny Red flowers
Embellishment addon: Kaisercraft large die cut, and matching die cut embellies

My stash: Dusty Attic flowers,  Prima Pixie Glen flowers, Petaloo vine, Doily


BAP LO, Hope you will join me on the 6th at the forums and let me show you how I made this LO! Simple sweet and sooo much fun!!!!


What I used:
Main Kit: PP Kaiser Champagne, Magnolia wire blooms
PP addon: Wall Flower, Relic Kaisercraft
Embellishment addon: Kaisercraft die cuts, Petaloo color me crazy chipboard pieces
Flower addon: Petaloo Camellia, Maya Road large white flower
CS addon: Core'dinations lake mist

My stash:
Offray blooms, Dusty Attic flowers, Dusty Attic leaves, Melissa Francis cherub, Prima mask "demask", gesso, MS Punch

Have a Great Day All!!!