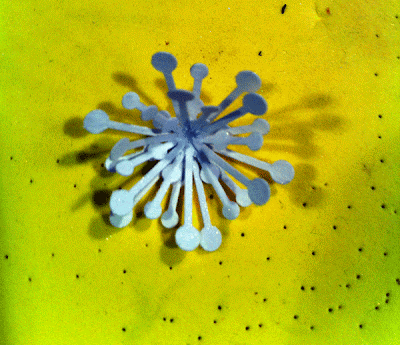
White CS, Winter Woodland Cart, Mcgill Snowflake punch, Zig fine tip memory marker ( I think its size is .01), Ink of choice ( I used on this one TH "Victorian Velvet" Distress stain, Mist that is iridescent or a mica that is, Scissor sharp tip, Tweezers, Shaping stick, Shaping tool ( I use a BG rubbon tool hey it works!) and mat, Stylist, Glue and pearl is optional.. I have used it with and without..
Here is the sizes I used for this tute 1 3/4 and 2 3/4, but have used different sizes also! That is why I love my Cricut for flowers I can adjust the sizes! You will also need 2 snowflakes punched.
First step
Cut the Shapes above following cutting instructions in pic. Do this on both pieces..
2nd cut..
2nd Step
Color both pieces. On the edges you want to color front and back. For the center just the front of both pieces. Like pics
3rd Step
Now add Veins and Dots... My veins don't look as good as they normally do but for the sake of the tute I pressed forward! LOL On the smaller one I don't add veins. You can if you want too though..
4th step
You are ready to add you mist or mica. Then start shaping with tweezers and stick after you mist or mica them. You want them damp, not soaking wet to shape. This locks in the shape that you give them. Here are pics showing this process.
After you finish doing both of those steps on both pieces all the way around. Then dry if still damp. Now we are ready for final shaping with spongy mat ( I use a foam mat that I made gluing 2 sheets of foam from Walmart together. It is well used so forgive the shape that it is in! lol) and a shaping tool.. I use a BG rubbon tool that I have. But have also used a ink pen top that has a smooth rounded end to it. I don't have any fancy tools to work with. lol So I use what I have! Here is a pic showing this process. Go in a circular motion. This helps bring the petals up some so they are not flat and look more life like.
Here is what they should now look like.
Now your ready to glue the 2 together. Off setting them a bit. Now mist your snowflakes with same color of mist or mica you used for the main pieces. Dry quick with the heat gun and your ready for the next step.
5th step
Now shape your snowflake with stylist like pic shows. You want the snowflake prongs to stand up, by pressing in the center of them on you spongy mat. Then glue them together.
Now your ready to add to the center of your flower and put a pearl if you like. Either way I think they are beautiful! Here are the final pics.
Hope you enjoy! Have a great Day!


Those are darling Tammy! Alda will surely love them.
ReplyDelete