Monday, June 30, 2014

OTP~ Your Art Your Passion KOM Flying Unicorn

Ahoy Maties! Hope your day is going well! Sharing my OTP from the Your Art Your Passion KOM July from Flying Unicorn. I decided to go a little shabby on my boat. I really wanted a soft romantic look. So I went white on mine. With a bit of blue.. Here it is..


I used one of my handmade vines and some prima sprigs and flowers and a Creative Embellishment life preserver. Also used the little paddles and created a cluster to sit at the side of my boat. I used pieces from the Small Art Big Passion, Mixed Passion  and the Main KOM too! The little seahorse and starfish are some handmade clay pieces I made. Now she is all ready for some little treasures from the beach! Sooo much FUN!!!

Sunday, June 29, 2014

Your Passion Your Art Flying Unicorn July KOM!!!

Though we do not want the next months to Fly Away - we are thrilled to present and include the new 13@arts collections Fly Away as part of our July Your Passion, Your Art Kit of the Month.


Our kits are amazingly unique and every month we include an Off the Page Project . This month you will receive a wooden canoe
The Creative Team has truly out done themselves this month - Just take a look at all of the eye candy inspiration!


http://www.flyingunicornstore.com/category_s/1356.htm
A perfect add on for the avid mix media artists out there to the ones that are just getting their hands, and yes sometimes face and feet inked! The colors in this kit compliment all the other kits being offered this month or it can stand alone since it will always come with a canvas so you can play as soon as you receive it !


http://www.flyingunicornstore.com/category_s/1356.htm
The latest and greatest embellishments and goodies for you that compliment the main kit and all the add on kits. You can purchase this to add creativity to the stash you have on hand or to mix in with our main kit for more creative yumminess!


http://www.flyingunicornstore.com/category_s/1356.htm
Our Small Art, Big Passion addon kit can stand alone or mix it in with the main kit. Perfect for card makers, altered projects, tags, atc's and so much more!


http://www.flyingunicornstore.com/category_s/1356.htm
We have an incredible month of great tips, techniques step by step tutorials along with some amazing videos to teach and and get you creating! Our educators this month will be using the kit to inspire you along, though you can always create and try using your own stash too! So become a subscriber of our You Tube Channel and our forums - You do not want to miss out!


Saturday, June 28, 2014

Final Sneaks from me!! July KOM Flying Unicorn


Getting down to the final days before reveal! You seriously have to check out the CT's sneaks HERE. They are mind blowing!!


Few more sneaks from me! Looking forward to reveal!!!


Tuesday, June 24, 2014

More Sneaks! Flying Unicorn July KOM


How about a few more sneaks?!


Don't forget to watch the forums for even more mouth watering sneaks from the rest of the CT. Click HERE .. Lots of eye candy waits just around the corner!!

Monday, June 23, 2014

Flying Unicorn Sneaks!


YAY ITS STARTED!!!!!!!!!!!


Here are a couple of sneaky peaks from me. :)


Check out what the CT is loading!! HERE

Sunday, June 22, 2014

Winners of the Blog Hop

Hello all you lovely people out there in cyber world! I would like to take the time to Thank You All for your participation and sweet comments to my tag.  Thank you for making this blog hop a awesome one too!! Now for the winner of my blog prize. Via random Chose...


True Random Number GeneratorMin: Max: Result:61Powered by RANDOM.OR


Congrats to Jean Bullock!! Yay!! You have 7 days to email cs@flyingunicornllc.com to claim your prize. Your name and complete mailing addy. 

The grand prize winner has also been announced and the winners of the other remaining blogs as well. 

Check here to see if you was one of the lucky Hoppers! 

Thank you so much for making this a awesome hop!! Have a great day!!

Wednesday, June 18, 2014

Uni and Dolls Blog Hop Party!!

Welcome to the Grand Uni & Dolls blog hop party!

 If you have come from Jen's Blog then you are in the right place. If not then begin from the beginning at www.flyingunicornblog.com, because you do not want to miss a thing!

We have an insane line up of gorgeous projects with creativity overload, all centering around Julie Nutting Mixed Media Doll stamps!! You will be sure to walk away with some very cool ideas on what you can do with these fun stamps! Enough of the chatter on to the hopping! LOL

 This is a tag I created using the JN Doll stamp Kate...


I used the Riddersholm "Tailgate" collection from June's KOM to decorate her and the tag. The flowers are Petaloo. Now for my tip/technique.. I love dimension. You can create it by layering the individual layers of the stamp with pop dots. You can also create it with the hair as well. One of the reasons I chose "Kate" was to show off her lovely locks! Let me get a closer shot of this..

You can see on this photo how I raised each layer.. Also the dimension to the hair as well.


This is a closer look at her hair. I used Puffy paint, with swirl motions, and the tip of the bottle really close to my project I followed the preset pattern of her hair with it. Special note.. So she doesn't curl on ya while you are heating the puffy paint leave her uncut from the selected paper you are using. After the paint dries a little and gets a haze look to it. Heat set to get the paint to puff. Be careful as to not puff it to much just a little to get depth. When that part was done, I used Tim Holtz distress paint in walnut stain and painted the whole area of her hair with a small bristle paint brush. After the paint dried well, I went back over it and gave her some highlights with Silks in Emperor's gold. Then cut her out! Wha La that easy!


Want to win the doll I used or any of the other ones, the choice will be yours along with Time Traveler or Seashore collection paper pack by Prima?!


 To be eligible all you have to do is:

·Become a follower of my blog

·Comment below this post and tell me if you're having fun, and enjoying the inspiration.

·This giveaway is open worldwide

But wait there is more …..

One lucky person will win the Uni’s & Dolls grand prize


Now hop on over to Lynne's Blog and check out her amazing project and tips! Have fun everyone and thank you for hopping along with us!!!


Tuesday, June 10, 2014

WCYDW Flying Unicorn Shabby Adornment Flower


With Tammy

Shabby Chic Adornment Flower

Hello everyone! Have a tute today on a flower that I have recently made. I got my hands on some of the new and yummy Adornments in the Flying Unicorn store. Ya know I also had in my hands some new Lindy's Embossing powder and Magical in the Yummy new Collection "Tres Chic"! Here is a quick rundown what I am using..

Gesso
Water in a mister
paint brushes
clear glue
Cheese cloth
heat gun (Caution metal heats quickly so leave your piece alone for a bit after heat setting it. Or you could burn yourself!)

Lets get started shall we?!

On this first pic I am using the Large flower. I cover it with gesso and while the gesso is wet I sprinkle the C'est La Vie Cerise on it and heat set. I use the gesso as the medium to hold my embossing powder in place.


Now on this next step I didn't want to use gesso as the medium to hold my embossing powder in place, because I didn't want full coverage just lightly in areas to blend in and add a second color. So I use my Stampendous embossing ink. Sprinkle the Chateau Rose lightly over the areas dabbed with the embossing ink. Then I heat set it.


Now lets play abit with the Merci beaucoup Mint Magical! Just get the end of the brush wet and stick it in the powder and mix on my craft sheet. You don't want it dripping wet just the tip of the brush damp. Then mist a little on your craft mat and blend.. Then you are ready to paint on the flower. I just went around the outsides and lightly in the center of the flower. Don't get excited about it not being light.. We are gonna fix that with the next step! LOL


Now mist the whole piece with water.


Take a paper towel and absorb some of the excess water. Don't wipe down just lay over it and dab it up. You want to still leave a taste of the color.


Now heat set it in place. This doesn't take long as it is metal and heats really quick. 


Yummy right?! On to the top piece!

Gesso the piece

Add the Chateau Rose embossing powder this time with the gesso and heat set.

Now use the Stampendous and lightly add in the C'est la vie Cerise and heatset.


Add the  Merci beaucoup mint magical as in the above step.

Add some water..


Dab it up some


Heat set it..

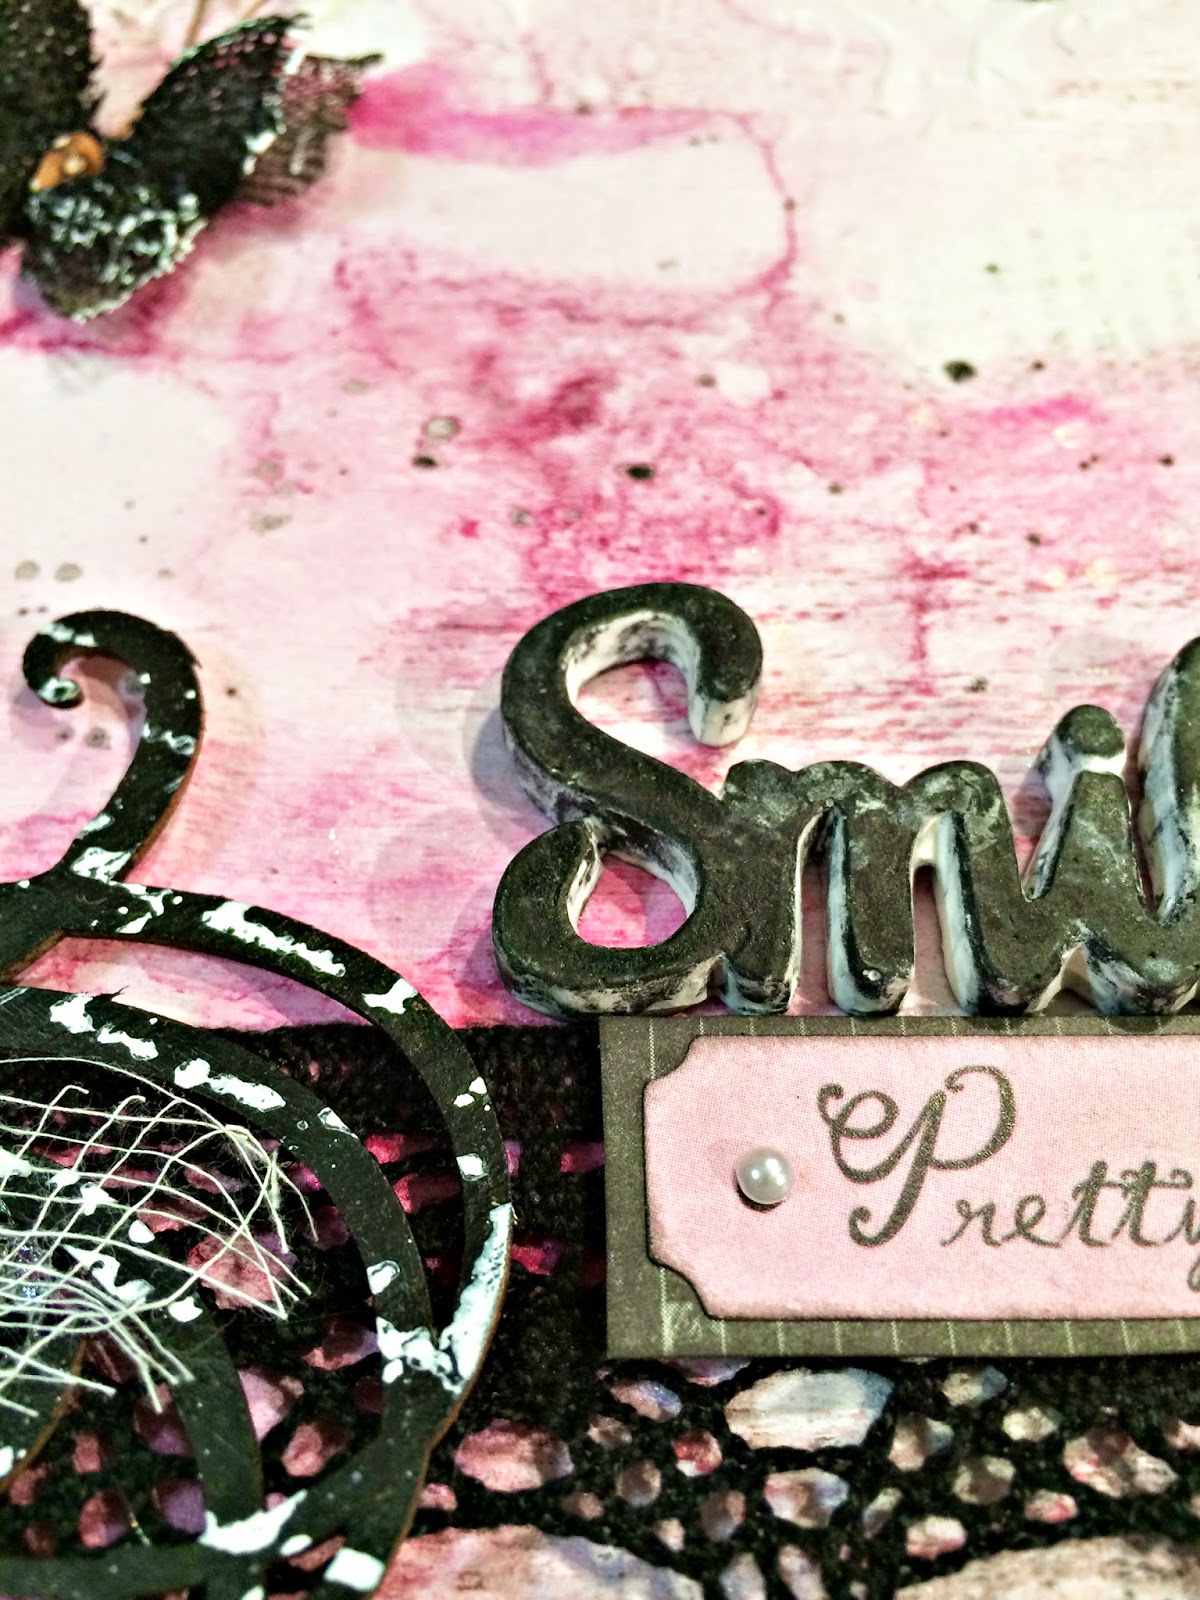
This is what they both look like together.. I also lightly VERY lightly dabbed on some white paint and a paint brush. Just too shabby just a bit more..


Now add a piece of cheesecloth in between the 2 pieces and glue together. I also added some clear glue to the center of the top flower and on the stamen. Here it is all finished up!


Hope you had some fun.. Got some ideas on what you can do with your adornments! :)