Hello all! Stopping by today to share with you a canvas I made using the July KOM Mixed Art kit. First this kit is one of MY FAVES!!! I just love all the Mix Media products you get with it!! Loved the watercolor pencils from Faber Castell in it too!!! OMGoodness!! What a TREAT!! He is my fun canvas that I did..
I colored the fun word that was in the kit with them and my Tim Holtz Crazy bird stamp too. I added a bit of color to the BG and did a little more stamping with some more word stamps and Bam a fun canvas that now is in my DD room!! Super FUN and EASY to do!!
Thank you for joining me today!!
Tuesday, June 30, 2015
Monday, June 29, 2015
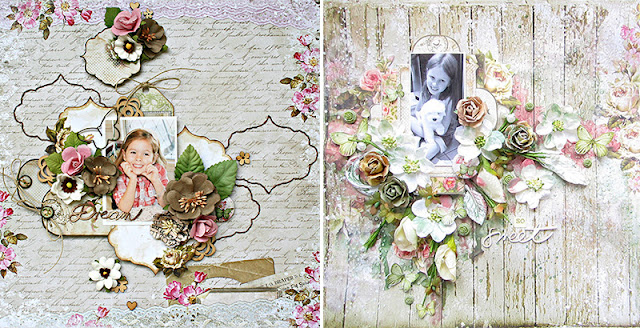
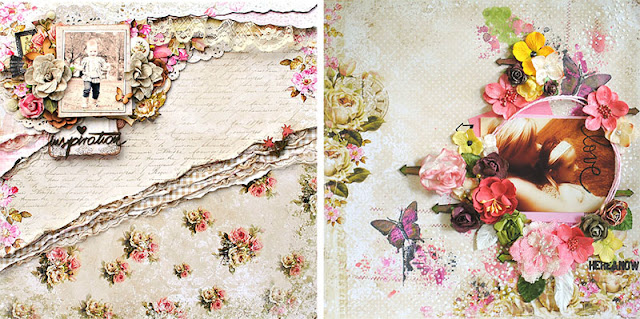
Flying Unicorn July KOM Your Passion Your Art
Flying Unicorn continues to celebrate warm wonderful days of summer. July's "Your Passion Your Art" feels like a dreamy summer from years gone by. Romance and warmth abound. Without further adieu we offer you our June - Your Passion. Your Art kit of the Month
July is the month of freedom. The month where folks gather to honor the land of the free. Included in each Main Kit, is always a fun and unique "off the Page " item. We have the perfect "Off the Page" piece to help celebrate a symbol of beautiful freedom.
From the beginner to the avid mixed media artist our Mixed Art add on kit will surely please you. Our Mixed Art kit will always come with a canvas and mixed media art supplies to advance your skills as an artist.


Flowers, vines,and embellishments oh my! Our Mixed Passion is a collection of everything pretty to add to the Main kit or the add on kits. The colors and embellishments will enhance your Kit of the Month creations or it can stand alone and you can create something magical on its own! So turn up the music, make some tea and lock your self away while you create some art!
Our Small Art Big Passion is all about the love of making cards, tags atc's and anything in between. From Stamps, flowers, paper, embellishments and pretty things in between! These yummy goodies will enhance any of the kits or stand alone .
We are thrilled to present great free tutorials, techniques, videos and Build a Page using our Kit of the Month to help you grow in the passion of your art. So stay tuned there is so much more to come in the next week!
Thursday, June 25, 2015
Playdate Thursday with Flying Unicorn
Hello all! Welcome to Playdate Thursday! Tammy here today to go over a little art 101 with you. I am going to be going over color! Yes we all love to use color and I think this would be a good refresher for those who already know, and informative for those that don't. This activity we will be using mist, and inks to achieve a color wheel of sorts.
First we have to start with our Primary colors. Those are the colors you use to make the rest of the colors on the color wheel. They are Blue, Red and Yellow. When you mix them you get the remaining colors. If you mix all 3 Primary together you get black. Or a muddy color. If you want to deepen any color you add small amounts of black to lighten you add white. To tone down you add grey. Tints, Tones and Shading we will discuss in another tute. Today we are going to just stick with the wheel.
For my project I chose to use a AJ page and we are going to explore this. Come on and follow along with me!
First I prime my pages with some Gesso so my colors don't bleed through to the other sides of the pages.
I also add in a little bit of texture.. Not to much because I want my focus to be color. I used some drywall tape and edge my project and cover it with some gesso too.. Gonna be hard to see but it's there.
Now we need to wet the surface after all the gesso has dried with some water. This will allow the colors to flow together. That is what we want to achieve our color wheel. Now it's a line straight across but the effect is the same.
Now for our Primary Colors. I used Lindy's Rizzo's Rowdy Red Flat fabio for my red, and Afternoon Delight Denim starburst for my blue. For my Yellow I used 13 Arts Chalk Lemon. Red and Yellow make orange. Yellow and blue make Green. Red and blue make purple..
I seemed to have forgot to snap pics of the next step so do this.. First start in the middle and spray your yellow. I went down the seams on mine for the yellow. Outside edges mist the red. On the right hand side mist blue down between the yellow and red. It should look like this when your done..
I laid a TCW mask over the top of both of the pages while wet. But you can see the other hues now. The oranges, Greens, and Purple. While it was still wet I laid a paper towel over the top of the mask to soak up excess.
I added a smidge more water after I lifted the towel to blend the colors a little more. But NOT A LOT. Here is where we are at now..
Reds, Oranges, and Yellows on one side. Which are also known as warm colors..
Yellows, Greens, Blues and Purple on the other side. I let the blue mist go over the red so I would have a purple hue. Greens blues and Purple are known as cool colors.. However some colors are tricky when you blend them because of the undertone color.. We will get more into that later in another tute. It is known as Color Bias.
I let that dry good before I moved on to the ink step.. Because I want to POP the color a little more.. I stayed with the same colors with the exception of the blue. Because I wanted the green to pop more. Here are the colors of the inks I used.. I used the StazOn for some masking I plan on doing and the Distress Inks to make what I already have deeper..
Using the distress blending in Yellow from side to side blue edging over to the yellow and purple side and reds on the edges.. Just a smidge more water to help blend.. You can really see those colors POP. Here is the pic of that..
Now I used the Stazon for the Masking part I used only the Red Stazon, but if I had used the other 2 colors I would have used them where they are on my page already. Added a bit of stamping, some die cuts, trim and Wha La A journal page is born!
Thank you for Joining me today! Hope you enjoyed!!
Items Used:
Stazon red
Lindy's Rizzo's Rowdy red, Afternoon Denim Delight
13 Arts Lemon Yellow chalk
13 Arts Feel Free Stencil
Crafters Workshop Stencils
Distress Inks Peacock Feathers, Squeezed Lemonade, Barn Door
Prima Mask
Creative Embellishments Stamp
Decoart Stencil Typewriter
CTMH Stamps
First we have to start with our Primary colors. Those are the colors you use to make the rest of the colors on the color wheel. They are Blue, Red and Yellow. When you mix them you get the remaining colors. If you mix all 3 Primary together you get black. Or a muddy color. If you want to deepen any color you add small amounts of black to lighten you add white. To tone down you add grey. Tints, Tones and Shading we will discuss in another tute. Today we are going to just stick with the wheel.
For my project I chose to use a AJ page and we are going to explore this. Come on and follow along with me!
First I prime my pages with some Gesso so my colors don't bleed through to the other sides of the pages.
I also add in a little bit of texture.. Not to much because I want my focus to be color. I used some drywall tape and edge my project and cover it with some gesso too.. Gonna be hard to see but it's there.
Now we need to wet the surface after all the gesso has dried with some water. This will allow the colors to flow together. That is what we want to achieve our color wheel. Now it's a line straight across but the effect is the same.
Now for our Primary Colors. I used Lindy's Rizzo's Rowdy Red Flat fabio for my red, and Afternoon Delight Denim starburst for my blue. For my Yellow I used 13 Arts Chalk Lemon. Red and Yellow make orange. Yellow and blue make Green. Red and blue make purple..
I seemed to have forgot to snap pics of the next step so do this.. First start in the middle and spray your yellow. I went down the seams on mine for the yellow. Outside edges mist the red. On the right hand side mist blue down between the yellow and red. It should look like this when your done..
I laid a TCW mask over the top of both of the pages while wet. But you can see the other hues now. The oranges, Greens, and Purple. While it was still wet I laid a paper towel over the top of the mask to soak up excess.
I added a smidge more water after I lifted the towel to blend the colors a little more. But NOT A LOT. Here is where we are at now..
Reds, Oranges, and Yellows on one side. Which are also known as warm colors..
Using the distress blending in Yellow from side to side blue edging over to the yellow and purple side and reds on the edges.. Just a smidge more water to help blend.. You can really see those colors POP. Here is the pic of that..
Now I used the Stazon for the Masking part I used only the Red Stazon, but if I had used the other 2 colors I would have used them where they are on my page already. Added a bit of stamping, some die cuts, trim and Wha La A journal page is born!
Thank you for Joining me today! Hope you enjoyed!!
Items Used:
Stazon red
Lindy's Rizzo's Rowdy red, Afternoon Denim Delight
13 Arts Lemon Yellow chalk
13 Arts Feel Free Stencil
Crafters Workshop Stencils
Distress Inks Peacock Feathers, Squeezed Lemonade, Barn Door
Prima Mask
Creative Embellishments Stamp
Decoart Stencil Typewriter
CTMH Stamps
Subscribe to:
Comments (Atom)


