Friday, October 31, 2014

Flying Unicorn November KOM LO

Hi all! Here today to share with you a LO made with the Nov KOM. This month I got the pleasure of scrapping my daughter and her boyfriend. I had a awesome time with these 2 kiddos. Taking pics then scrapping them. I could gush on for hours.. But I need to show you all what I have done with this AMAZING KOM! Here is the LO..


Here are a couple of close ups..

I expanded my flower supply by tearing them apart and cutting them in half. I used some CE ivy chippies to make my vine clusters a little fuller as well..

I just had to use the little JN chippies in the lower cluster, it had a adorable little boy and girl in it.


I used mixed pieces of each kit a a bit from my stash to create this. Here is what I used

Main Kit- paper, die cuts, Flying Unicorn adornment, blue flowers, Bo bunney stickers title area
Mixed Art- Bobunney stencils
Mixed passion-Pink flowers
Small Art Big Passion- White vines in the box of white Prima flowers, JN chippies

My stash-
CE Ivy vines
Prima Time traveler stamps
Prima little inker
Gesso
Tattered Angels newsprint stamp
Tim Holtz Distress stain
CE Crackle stamp
Cherry Lynn Die

Thursday, October 30, 2014

Nov KOM Flying Unicorn!!!

http://www.flyingunicornstore.com/category_s/1422.htm


It's here ..Our November Kit of the Month ! Jam Packed with yummy goodies our kit will let you explore your passion and create those perfect memories. So without further adieu Flying Unicorn proudly presents Your Passion, Your Art - November 2014 Kit of the Month


http://www.flyingunicornstore.com/category_s/1433.htm


Our main kit is never complete without an off the page project to get you creatively thinking outside the page! This antique white chicken wire heart hangs beautifully in any location, and is easy to decorate. Each heart measures 15.75 x 13.625 inches.


http://www.flyingunicornstore.com/category_s/1422.htm


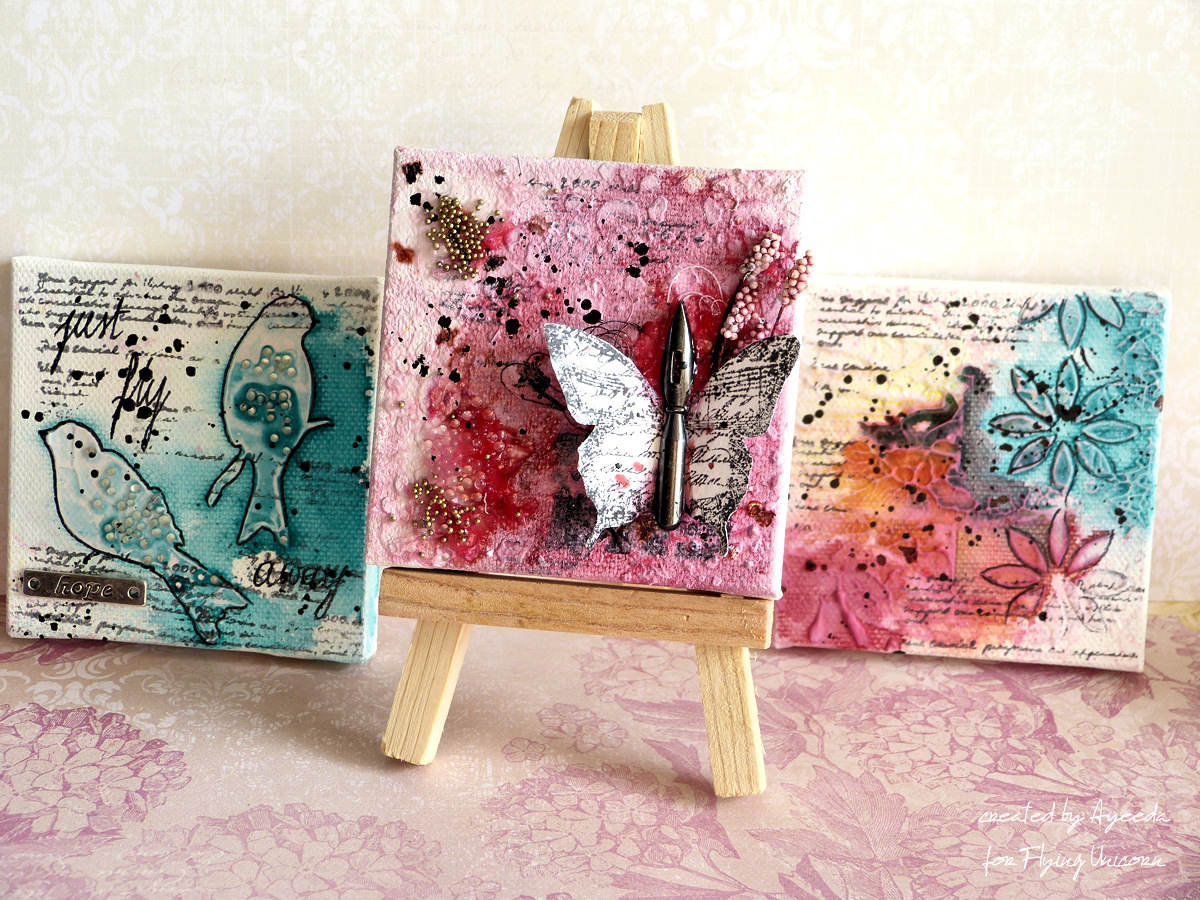
From the beginner to the avid mixed media artist our Mixed Art add on kit will surely please you. Our Mixed Art kit will always come with a canvas and this month we have included 3 -3x3 canvas to create a story or little awesome stocking sufferers. An easel is also included so that your art can be predominately displayed!


http://www.flyingunicornstore.com/category_s/1433.htm

Flowers, chipboard, and embellishments oh my! Our Mixed Passion is a collection of everything pretty to add to the Main kit or the add on kits. The colors and embellishments will enhance your Kit of the Month creations or it can stand alone and you can create something magical! So turn the music up order that pizza for the family and lock your self away while you create some art!


http://www.flyingunicornstore.com/category_s/1433.htm
Our Small Art Big Passion is all about the love of making cards, tags atc's and anything in between.From Stamps, flowers, paper and embellishments in between the yummy goodies included will enhance any of the kits or stand alone .


We are thrilled to present great tutorials, techniques, videos and Build a Page using our Kit of the Month to help you grow in the passion of your art. So stay tuned there is so much more to come in the next week!


Kits and Add On Kits are limited so do not delay in getting yours!

Tuesday, October 28, 2014

Last sneak from me for the Nov KOM Flying Unicorn!

Hi all! Last couple of sneaks from me!! This kit was DABOMB to play with! Had a blast!!!


Sunday, October 26, 2014

More Sneaks!! Flying Unicorn KOM Nov

A Few more sneaks from me!! These are Hot of the scrap table too!! Weeee Sneaking and creating!! Whoot Whoot!!


Saturday, October 25, 2014

More sneaks Flying Unicorn KOM NOV!!

I have a Few More sneaks to share today!! These are hot off the Scrappy table too!!


Dont forget you can check out the rest of the CT's Sneaks HERE.

Friday, October 24, 2014

Ready For Sneaks??!!! Flying Unicorn Nov KOM


Here are a few from me!


Be sure to keep a eye out for more Yummy sneaks from the rest of the CT as well! HERE

Monday, October 20, 2014

Last Little Halloween Spook From Me For CE, Its A Dandy Too!! ;)

 Hello all you scrappy peeps! Today I have a special LO to share with you!! It is a CREEPY one too!! You know Halloween just isn't well Halloween if Michael Myers isn't showing up somewhere on tv.. Well :) I have him on a LO special thanks to my Friend from Highschool and FB. She happens to be a real Mikey fan and had really cool profile pic! So asked her if I could play with it on a LO and she agreed! THANK YOU DONNA!!! Now for my LO!


I had to used the Creative Embellishments Creepy gates as an entryway to the fab photo! As the owl on a branch looks on to what looks to be a creepy encounter and we all know how those turn out! YIKES!! LOL The chippies are all decked out in black coal prima little inker. How about some close ups?!


I did use some CS behind the actual chippie and painted some Lindy's mist on to give a eery cloud look to it. Fun LO to do!!

Additional Products used:
Authentique "Thrilling" Paper and tag and title.
Lindy's mist
Petaloo Flowers
Prima Flowers and Stencil
13 arts Molding paste
IZink 
Golden Gesso
Prima Little Inker

Creative Embellishment Chippies
Owl on a Branch
Creepy Gates

Thank you all for joining me today!

Tuesday, October 14, 2014

Franken Dude! Creative Embellishments fun!!

Hello all you crafty folks out there in cyber land!! Here today to share with you a Tag I made for Creative Embellishments! Ok so I did some Halloween shopping in the store. I fell in love with the Monster Mash Set. I wasn't sure what I wanted to make with it. I love the image and well the song does bring back memories for me. I had that record as a child! LOL So I decided to do a tag. Now I wanted to use allll the images that is in the set. So my tag had to be quite large. Here is my tag..

I used the Authentique "Thrilling" collection to make the tag. I seem to gravitate toward that paper line for my Halloween creations. The center background is a Prima Package that use to have a vine. Now it is a piece of my tag! A couple of prima flowers and my Ghoulish flower that I made. How about some close ups?!

For the chippies I colored them first with 13arts vivid green paint, edged with a Prima black coal inker and then added in a bit of Silks in Key lime. The base to my Franken Dude is actually a tissue paper covered with black gesso then layered the paints and Silks to achieve the colors.  How about another close up?

Same colors was used on the Title piece.

 Had fun making this spooky tag. Remember that Creative Embellishments is running a sale! Get your hands on some of the super cool Halloween chippies to adorn your Layouts Tags or cards!! Thank you for Joining me today!

Thursday, October 9, 2014

Flying Unicorn Playdate Thursday

Play Date THURSDAY
Flying Unicorn

Ghoulish Flower Tute
By: Tammy Henderson

Welcome to my play date Thursday! With all Hallows Eve quickly approaching I thought that it would be cool to do a tute on something creepy.. LOL So I am gonna show you at trick to treat your flowers with. Or this can be done on any project that you desire! 

Supply list:
Water mister
Liquid Frisket and Liquid frisket eraser- (Most important to get the effect below)
Flower punch or Die- I used Heartfelt Creations Vintage Floret

Now lets begin shall we?! 

1. You can choose to shape a little before, however it will loose it by the time we are done. But it does help with the final shaping bending and such, Not so stiff. I used 2 large, 2 medium and 1 small flower.


2. Now get some IZink in your fave color and splash some on here and there. I chose to used a reddish hue so it will look a little creepy with another brighter color.

3. Ok now give a good misting with some water.


4. Absorb some of the excess water buy rubbing color side down on your mat. This helps move the color around a bit more. 

5. Give a little distress ink touch around the edges in a coordinating color. 

Before starting this next part be sure your flowers are COMPLETELY DRY!! 

6. Now take some of the Liquid Frisket and dab some on each petal with a sponge brush. Not the center just the petals.

7. Take your Frisket eraser and dab with the corner of it the areas where the frisket is. this will pop apart the frisket and create a skin like effect. Be Careful not to over due as you don't want to remove the frisket. Just break it up some. 

8. Take some paint I used 13arts in white and brush on lightly. Don't completely coat. Just cover the frisket areas.

9. Add some Silks in a bright color. Here I used Key Lime. Go over the white areas. This is a glaze so the white below helps it pop the color.

10. Layer large to small shaping each layer as you go glue. A shaping tool or paint brush will help this process. Add a center of choice and wala a ghoulish flower is born! 

Happy Haunting all!