
Rustic Christmas Ornaments
Play Date Thursday Tute with Tammy
Hello everyone! Hope everyone has that Christmas spirit because it is not to far away! Today I would like to share with you how to make some rustic Christmas ornaments. I am giving the spotlight to an old friend that as scrappers most of us have used as a background support, or a co-star as you will. I am talking about corrugated cardboard of course! This is all around and everyone has it somewhere in their humble abode! Most of the time it is FREE because it is the packaging that we receive it in our scrappy mail. So everyone can play along right?!! LOL Let me show you what we will make..

I thought the turned out pretty cute! Being as I am making the cardboard the star today why not show the star and how I made them. :) Lets get started..
1st. Get you a piece of cardboard and remove the top layer so that you see all the yummy ripples hiding beneath. Then Flip it over and draw on the opposite side a design. On mine I used some old stencils that was collecting dust. To my surprise I had all the above designs. But you can make anything hearts, squares (presents). Just be sure that its not intricate design, much harder to cut out. Now cut out your design..


2nd. Add some gesso to the front and back.. Covering the back helps the piece be more sturdy. Also will help with the next steps as we are gonna have a bit of fun with mists and mediums!


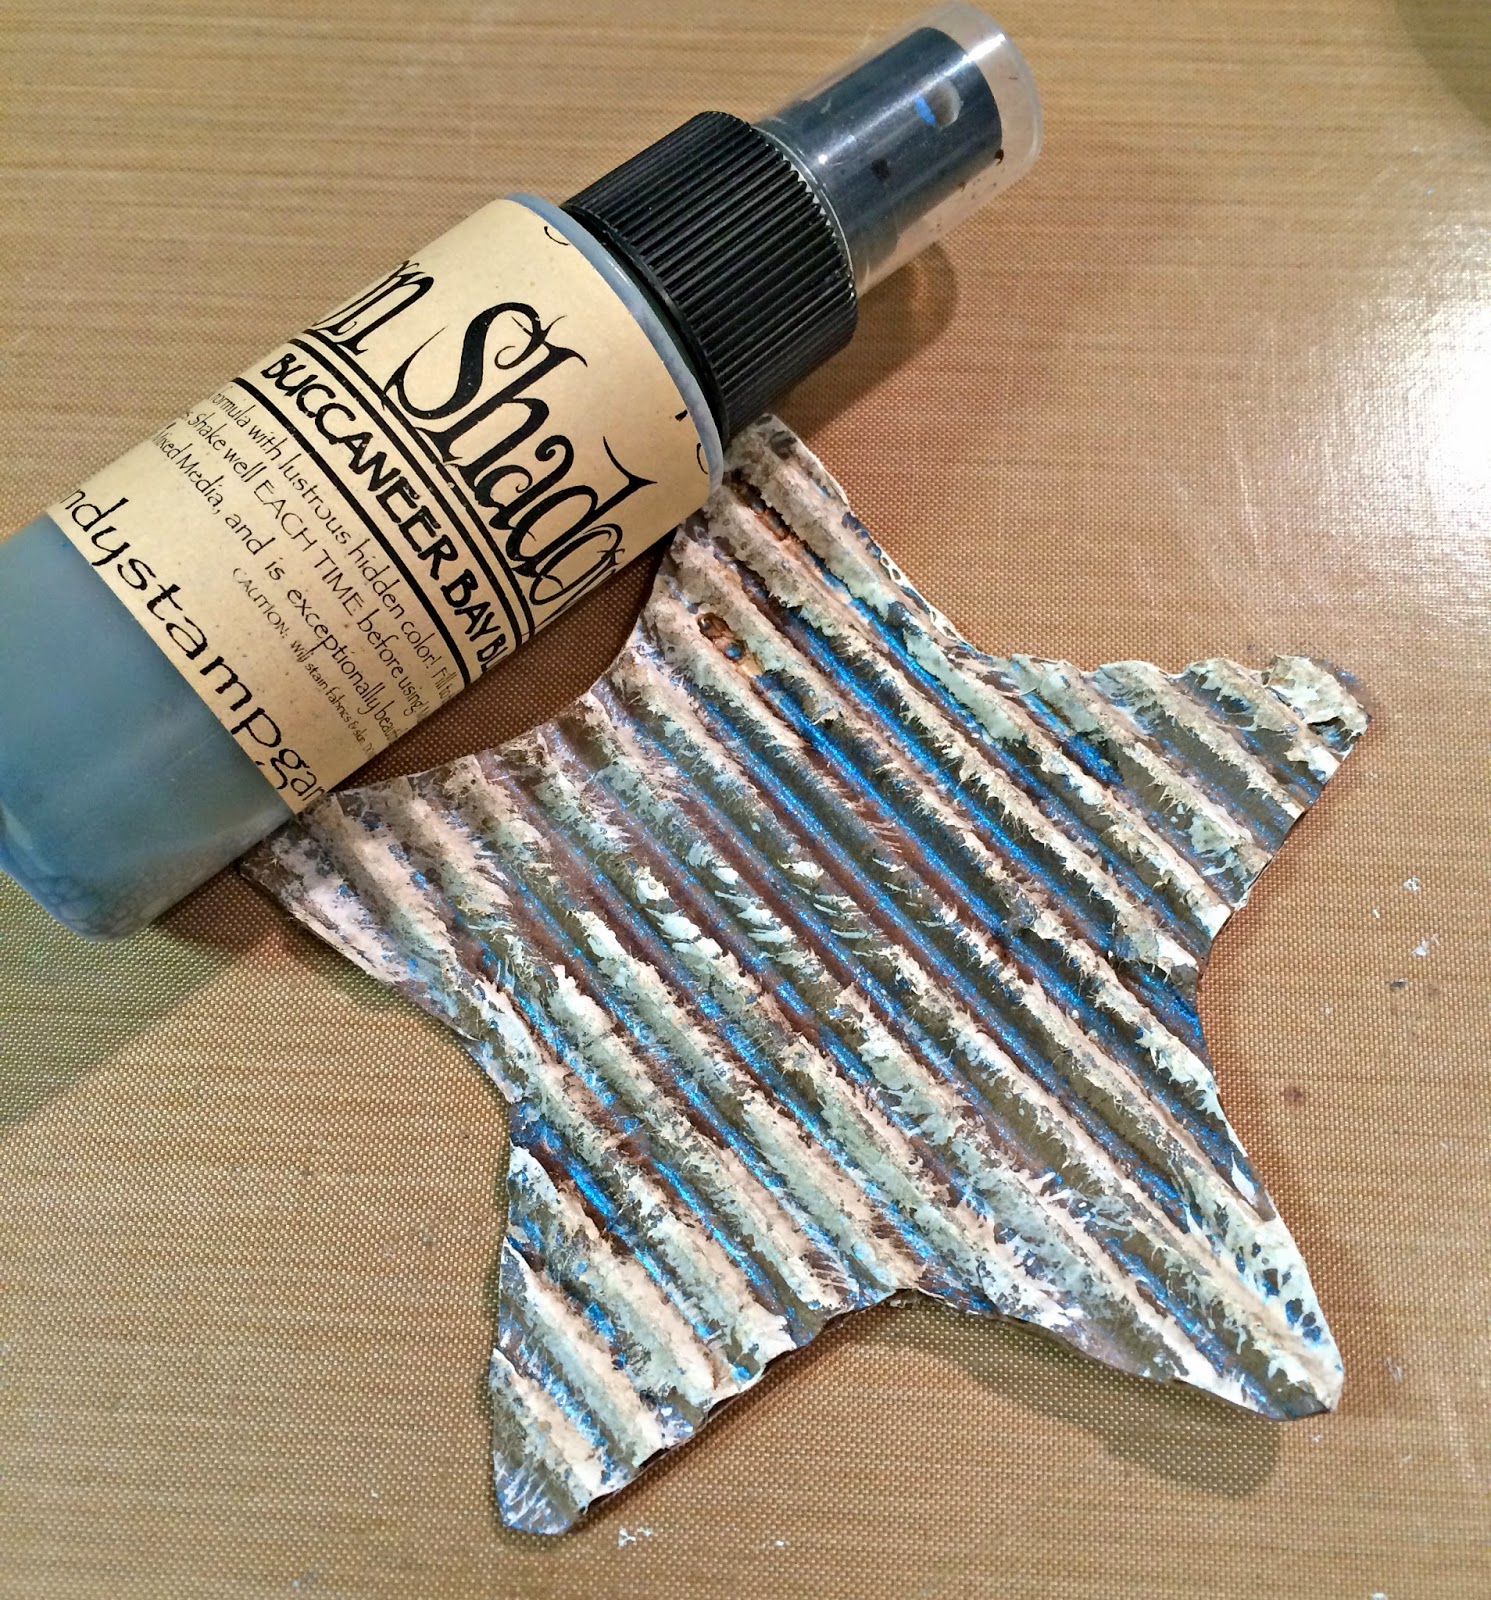
3rd. Time to mist! Ok to truly get a good rustic look Lindy's Moonshadow's are the way to go! The 2 toned sepia/color is soo perfect for aging things. I just adore these mist for that!! On this piece I used Buccaneer Bay Blue. Now mist but don't soak it down just a nice light covering will do nicely. Then dry.
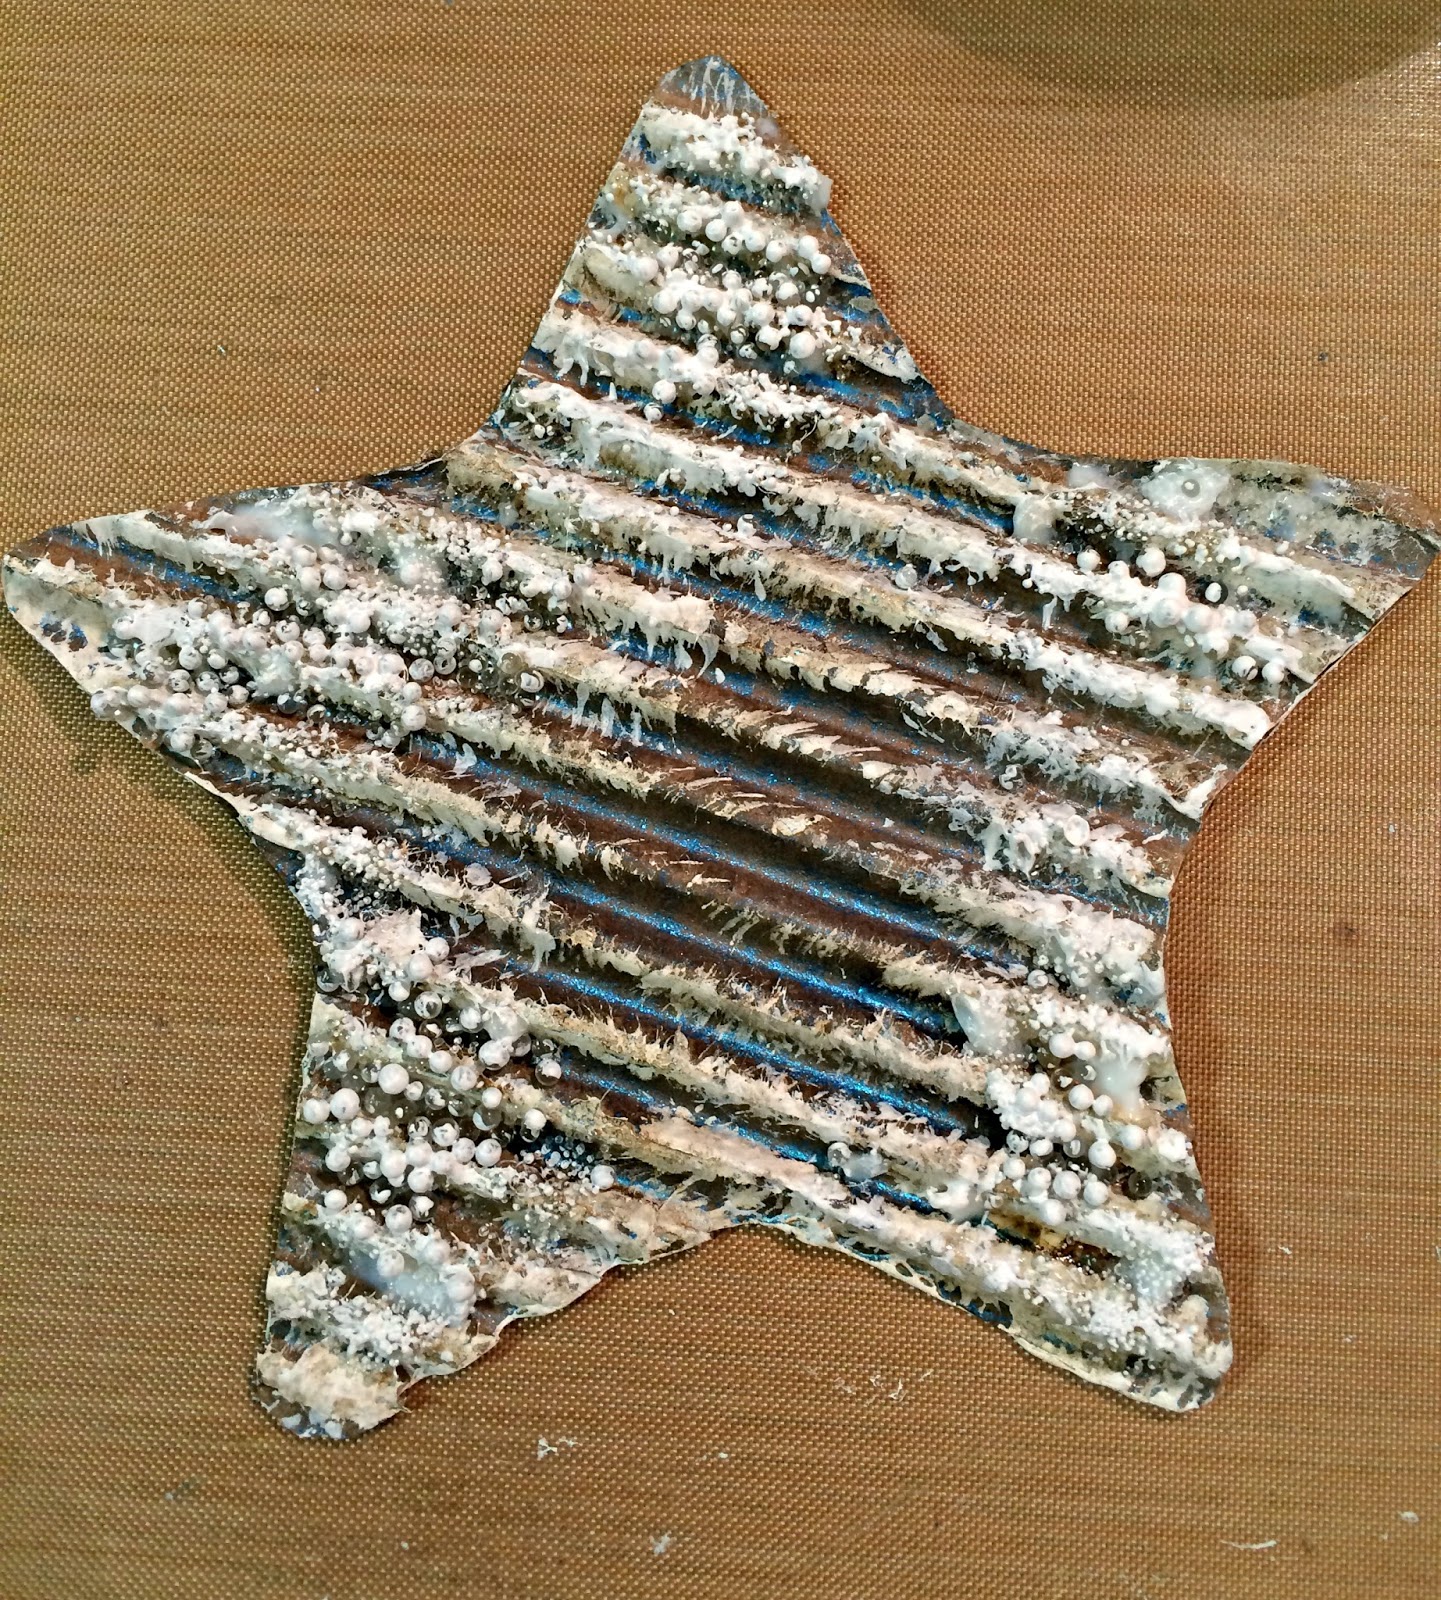
4th. It is Medium time! LOL Yummy 13 Arts goodness!! I used the Micro spheres and Micro glass beads along with 13 Arts Gel Medium. First I applied the gel medium randomly around the the points of the star and then dropped on the Micro Glass Beads and then over those I added the Micro spheres to fill in the spaces. Then I dried them really good!

5th. Now for a smidge more gesso.. Just over the beaded areas..
6th. Lets pop the color a little more shall we?! Lets add some Silks in Bolivian Blue! YUMMY I just brushed it on lightly here and there to bring the blue of the mist back.

7th. Now add some trims and blooms! My FAVE part!! Weee I used some Petaloo Botanicals. Just love these flowers to bits!! Punch a hole and add some twine, a bit more gesso and you now have a rustic ornament to hang on the tree or give to a friend. Just thinking you could also add a special not on the back of it to make it also a keep sake. :)

Here are close ups of the other pieces I made also with the colors (only difference in them) I used. :)
Tree
.jpg)
Stocking
Mist used 13 Arts Chalk Burnt Sienna and Lindy's Bucket O blood red. This combo was awesome to give a aged look to the stocking. The Petaloo flowers are Darjeeling Petites. The Lace is scrap piece of Flying Unicorn Venice Lace.
.jpg)
Hope you had fun and will give it a whirl! Thank you for joining me today!
No comments:
Post a Comment